
Custom Candle Kit
Instructional Guide
Instructions
How to Make Your Candles
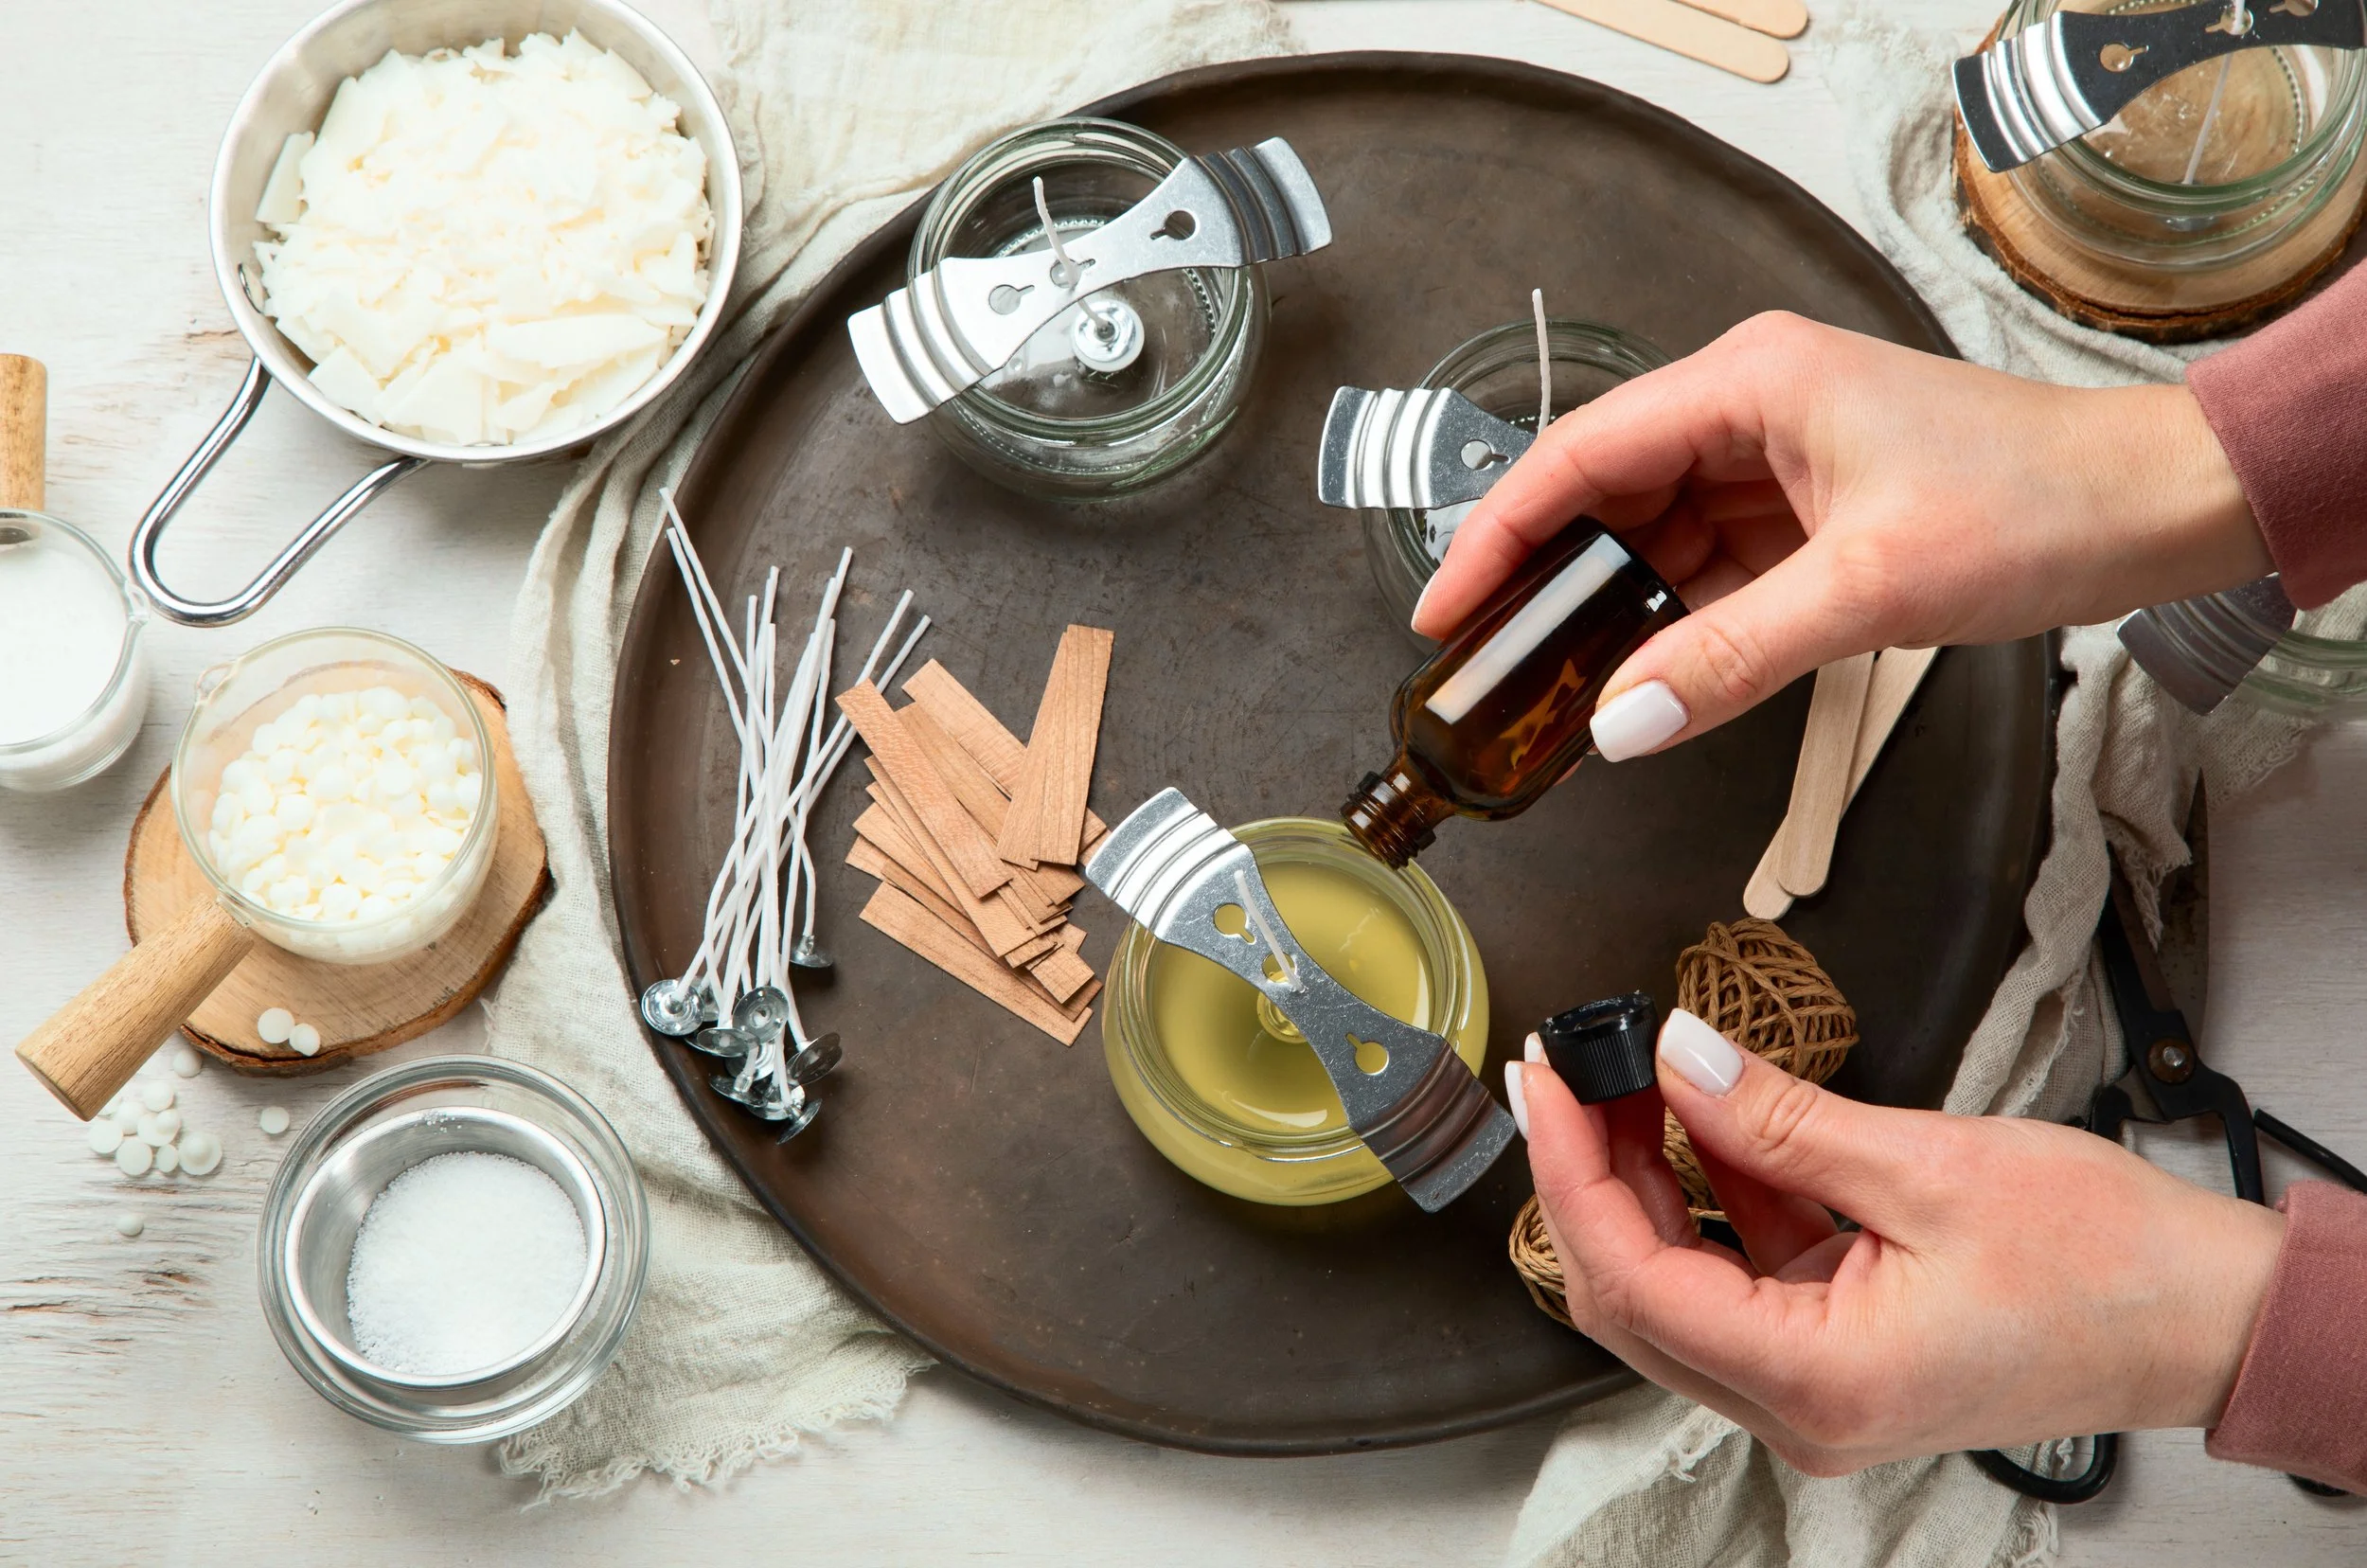
Prepare your vessel.
Set your tins or wooden bowl on a heat-safe surface.For tins: place one wick in the center of each.
For the wooden bowl: cut your wooden wick strip in half, insert each piece into a wick clip, and press both clips firmly into the bowl, spaced evenly apart.
Secure all wicks with the provided stickers or glue dots.
Melt your wax.
Place the beeswax in a heat-safe bowl or cup.
Melt slowly using a double boiler or microwave (30-second bursts).
Stir occasionally until fully melted — beeswax melts around 145–150°F.Add fragrance (optional).
Once the wax cools slightly (about 130–135°F), stir in your essential oil blend.Pour carefully.
Pour the melted wax into your tins or bowl — fill to about ¼–½ inch below the rim.Decorate while warm.
Sprinkle herbs or botanicals gently across the surface.
Add small stones or crystals for intention — just keep them away from the wick(s).Cool and finish.
Let the candles cool undisturbed for 2–3 hours, or until fully set.
Trim wicks to ¼ inch before lighting..
Tips & Safety
Always burn on a heat-safe surface.
Never leave candles unattended.
For best results, let candles cure 24 hours before lighting.
When finished, reuse the tins for treasures or travel storage.